命令行版
这是为了没有gui界面的linux服务器所写的教程,因此全部使用命令行。
源码安装
安装
选择版本
基于不可抗力因素,请自行进行寻找镜像 fork ,后然后进行编译
安装 clash
//注意自己改文件名
sudo gzip -d clash-linux-armv7-v1.13.0
sudo mkdir /opt/clash
sudo mv clash-linux-armv7-v1.13.0 /opt/clash/clash
cd /opt/clash
sudo chmod +x /opt/clash/clash
//下载配置信息
sudo mkdir -p ~/.config/clash && cd ~/.config/clash
sudo wget -O config.yaml [订阅链接]
sudo wget -O Country.mmdb http://www.sub-speeder.com/client-download/Country.mmdb此处这个 Country.mmdb 不太好下载,可以尝试自己下载来,直接上传到服务器上。
也可以考虑使用我的镜像版本:
sudo wget -O Country.mmdb https://github.com/zouxingyuks/Speed/blob/main/clash/Country.mmdb
clash的配置文件在~/.config/clash/config.yaml,打开后添加基本配置(如果有就不用添加了)
port: 7890
socks-port: 7891
allow-lan: true
mode: Rule
log-level: info
secert: 123456 // 增加这一行, 如果你希望你的clash web要密码访问可以在这块配置密码, 如果不需要直接注释掉即可
#此处必须是0.0.0.0 才可以通过局域网访问,也就是说要想通过web管理,必须填0.0.0.0
external-controller: 0.0.0.0:9090
启动
cd /opt/clash
./clash -d ~/.config/clash .
在本地测试服务器端口是否可达,如果访问不通,排查云主机是否开放了端口。
telnet [服务器IP] 7890如果在配置文件中使用的是 mixed-port,则 socks5 和 http 代理共用 7980 端口,代理地址都为
username:passwd@[服务器IP]:7890设置系统代理
sudo nano /etc/environment加入以下三行
export http_proxy="http://127.0.0.1:7890"
export https_proxy="http://127.0.0.1:7890"
export no_proxy="localhost,127.0.0.1"
修改sudo文件
sudo visudo在此处加入

Defaults env_keep+="http_proxy https_proxy no_proxy"重启
reboot不想重启也可以使用,下列命令刷新一下
source /etc/environment
#禁用全局代理
unset http_proxy
unset https_proxy
#启用全局代理
set http_proxy
set https_proxy
然后如果是 ssh,请重新建立连接
设置clash开机启动
将配置文件移动到/etc
sudo mv ~/.config/clash /etc添加启动信息
sudo nano /etc/systemd/system/clash.service输入以下内容,clash -d的意思是指定配置文件路径,这里已经改成了/etc/clash
[Unit]
Description=clash daemon

[Service]
Type=simple
User=root
ExecStart=/opt/clash/clash -d /etc/clash/
Restart=on-failure

[Install]
WantedBy=multi-user.target
重新加载systemctl daemon
sudo systemctl daemon-reload启动Clash
sudo systemctl start clash.service设置Clash开机自启动
sudo systemctl enable clash.serviceClash相关的管理命令
#启动Clash
sudo systemctl start clash.service
#重启Clash
sudo systemctl restart clash.service
#查看Clash运行状态
sudo systemctl status clash.service
#禁用全局代理
unset http_proxy
unset https_proxy
#启用全局代理
set http_proxy
set https_proxy
配置定时更新订阅:
先撸个脚本,别忘了设可执行权限
#!/bin/bash

# 定义颜色输出
RED='\033[0;31m'
GREEN='\033[0;32m'
YELLOW='\033[1;33m'
NC='\033[0m' # No Color

# 配置信息
CONFIG_PATH="/etc/clash"
CONFIG_FILE="$CONFIG_PATH/config.yaml"
BACKUP_FILE="$CONFIG_PATH/configbackup.yaml"
SUB_URL="【此处填入自己的订阅】"
LOG_FILE="/var/log/clash/update.log"

# 日志函数
log_message() {
    local timestamp=$(date '+%Y-%m-%d %H:%M:%S')
    echo -e "${timestamp} - $1" | tee -a "$LOG_FILE"
}

# 错误处理函数
handle_error() {
    log_message "${RED}错误: $1${NC}"
    # 恢复备份(如果存在)
    if [ -e "$BACKUP_FILE" ]; then
        mv "$BACKUP_FILE" "$CONFIG_FILE"
        log_message "${YELLOW}已恢复配置文件备份${NC}"
    fi
    exit 1
}

# 检查root权限
if [ "$(id -u)" != "0" ]; then
    handle_error "此脚本需要root权限运行"
fi

# 确保必要目录存在
mkdir -p "$CONFIG_PATH" 2>/dev/null
mkdir -p "$(dirname "$LOG_FILE")" 2>/dev/null

# 检查clash服务是否安装
if ! systemctl list-unit-files | grep -q clash.service; then
    handle_error "未检测到Clash服务"
fi

log_message "${GREEN}开始更新Clash配置${NC}"

# 停止clash服务
log_message "停止Clash服务..."
systemctl stop clash.service || handle_error "无法停止Clash服务"

# 清除代理设置
unset https_proxy http_proxy
log_message "已清除代理设置"

# 备份现有配置
if [ -f "$CONFIG_FILE" ]; then
    cp "$CONFIG_FILE" "$BACKUP_FILE" || handle_error "无法备份配置文件"
    log_message "已备份现有配置文件"
fi

# 下载新配置
log_message "开始下载新配置文件..."
if wget --timeout=10 --tries=3 -O "$CONFIG_FILE" "$SUB_URL" 2>/dev/null; then
    # 验证yaml格式
    if command -v python3 >/dev/null; then
        python3 -c "import yaml; yaml.safe_load(open('$CONFIG_FILE'))" 2>/dev/null || \
            handle_error "新配置文件格式无效"
    fi

    log_message "${GREEN}配置文件更新成功${NC}"

    # 启动clash服务
    log_message "重启Clash服务..."
    systemctl restart clash.service || handle_error "无法启动Clash服务"

    # 等待服务完全启动
    sleep 2

    # 检查服务状态
    if systemctl is-active clash.service >/dev/null; then
        # 设置代理
        export http_proxy="http://127.0.0.1:7890"
        export https_proxy="http://127.0.0.1:7890"
        log_message "${GREEN}Clash服务已成功重启${NC}"

        # 测试连接
        if curl -s --connect-timeout 5 https://www.google.com >/dev/null; then
            log_message "${GREEN}代理连接测试成功${NC}"
        else
            log_message "${YELLOW}警告: 代理连接测试失败${NC}"
        fi
    else
        handle_error "Clash服务启动失败"
    fi
else
    handle_error "配置文件下载失败,请检查网络连接或订阅地址"
fi

# 清理旧备份
if [ -f "$BACKUP_FILE" ]; then
    rm "$BACKUP_FILE"
    log_message "已清理配置备份文件"
fi

log_message "${GREEN}配置更新完成${NC}"
补充执行权限
sudo chmod +x update.sh设置定时任务:
sudo crontab -e填入以下内容
//每月1号和15号的4点30分开始更新
30 4 1,15 * * bash [脚本目录]/[脚本名称]
重启crontab,使配置生效
sudo systemctl restart cron.service查看代理是否正常工作:
curl www.google.comCash Web 面板(Yacd)
当然这个有在线版,其实在线版就够用了 http://clash.razord.top/#/proxies
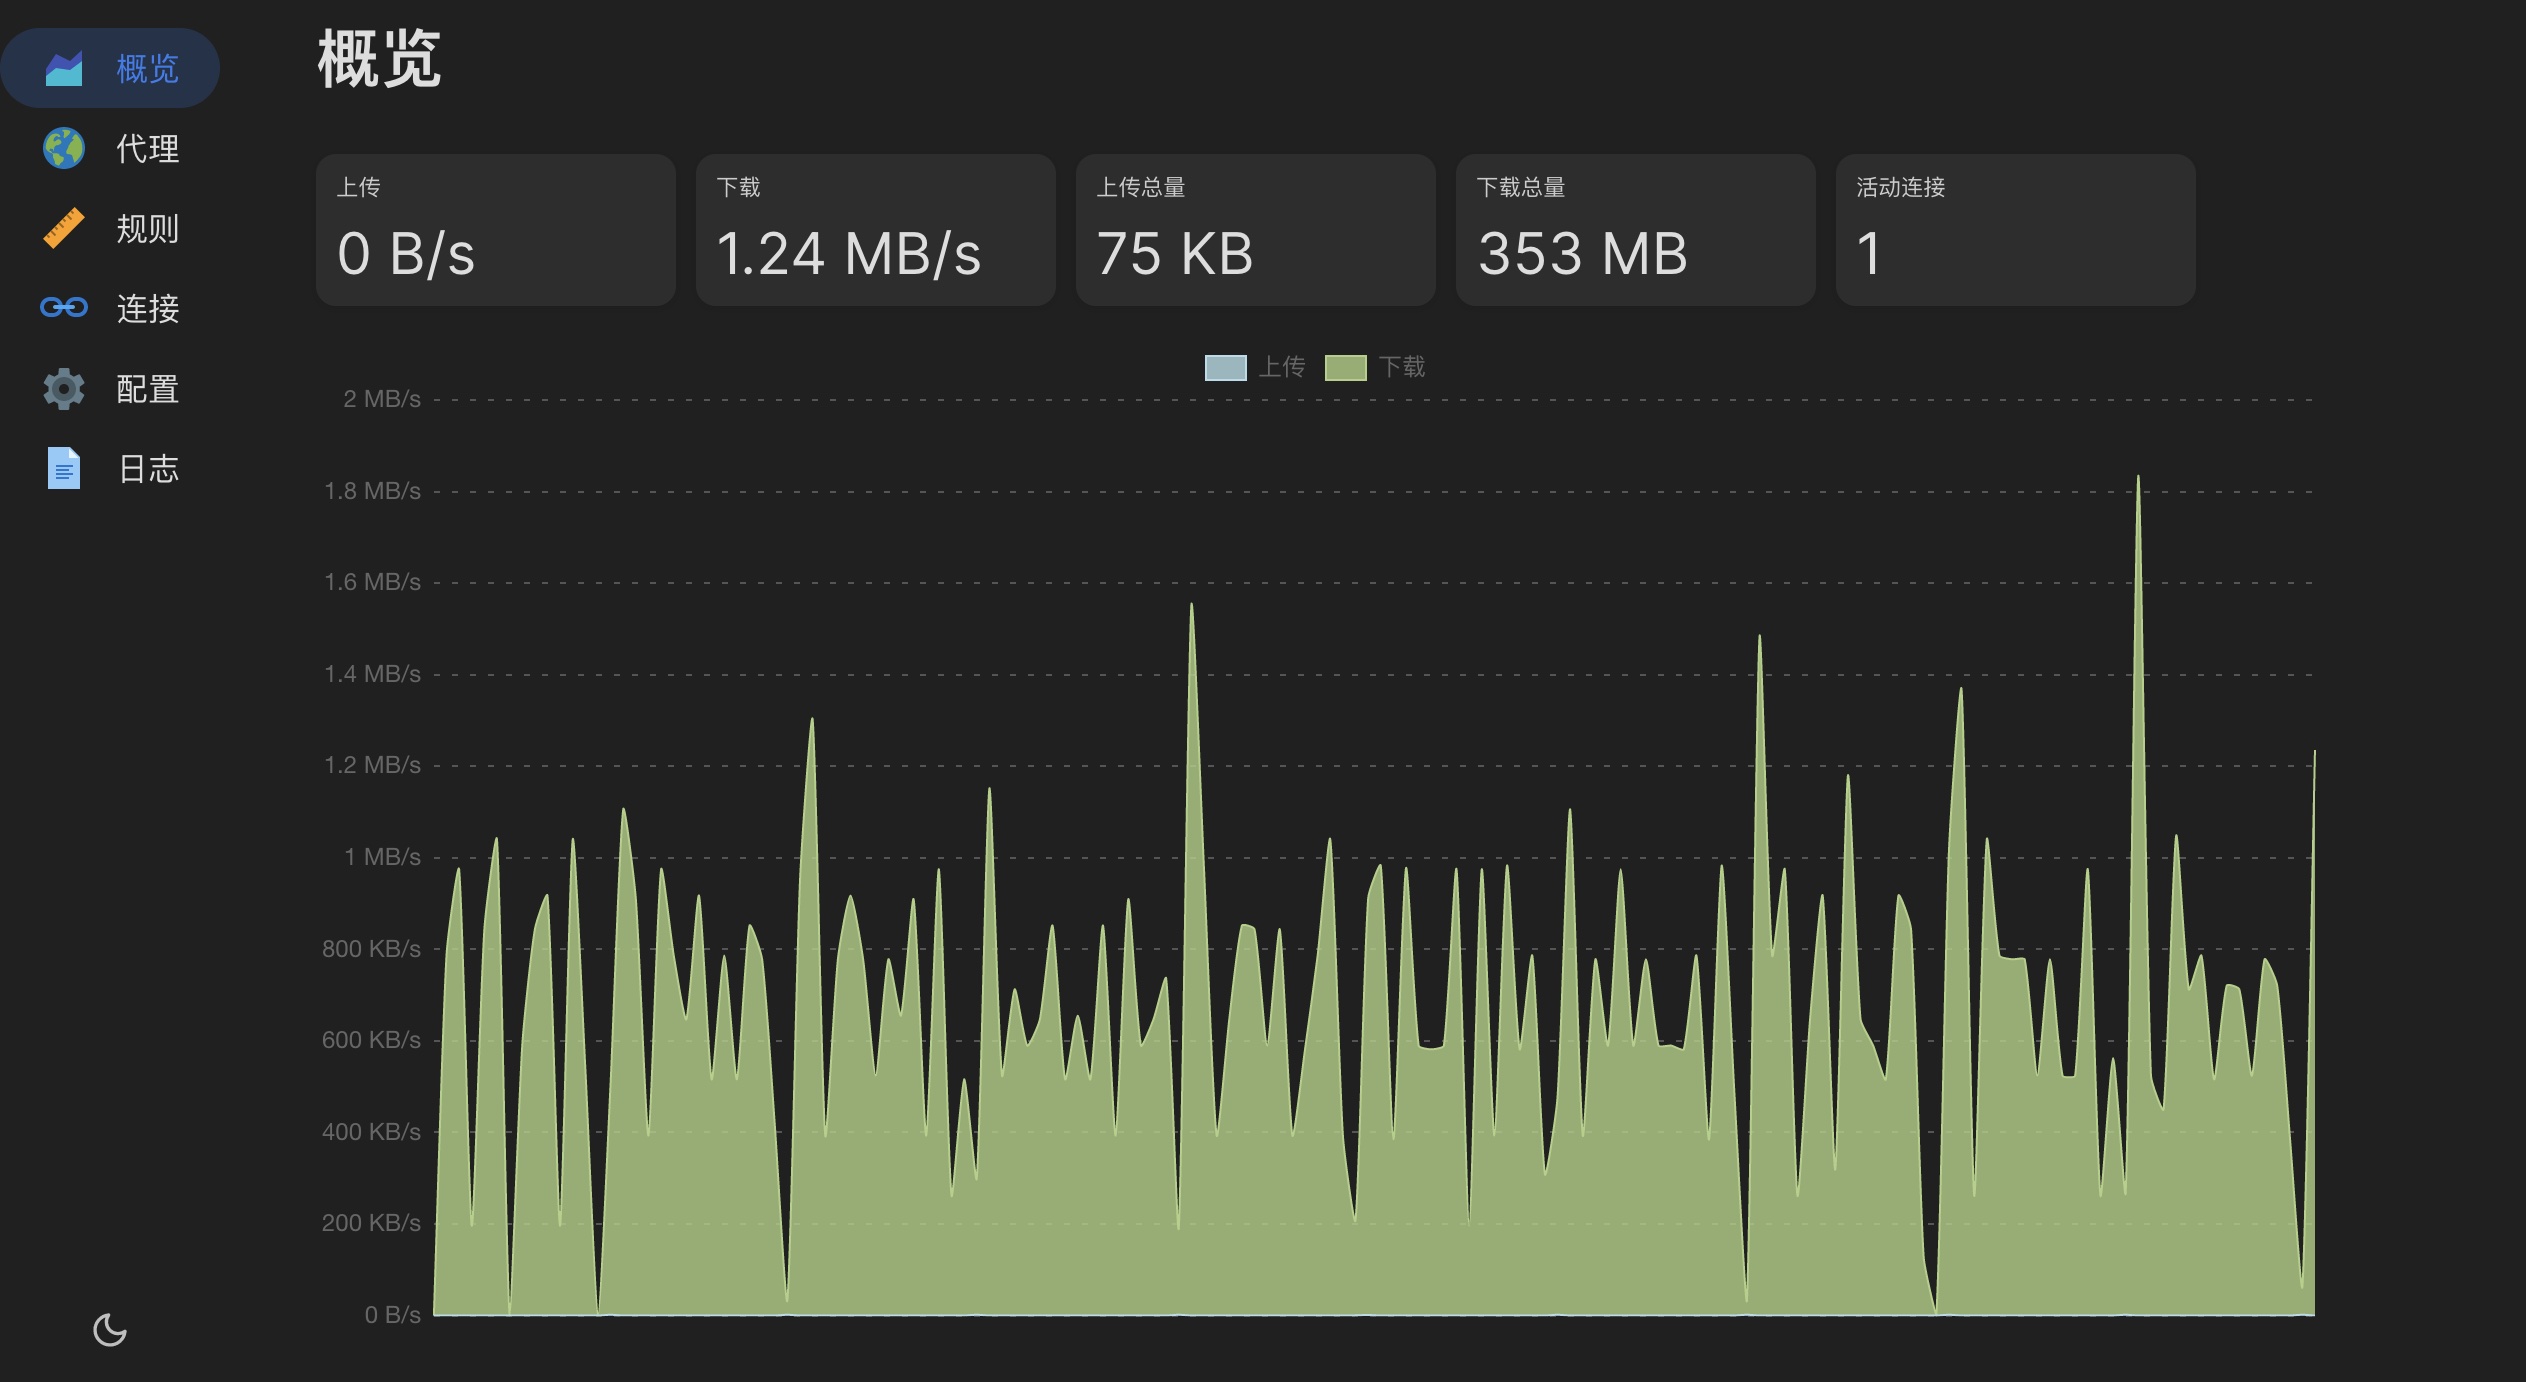
Yach 是 Clash Web 版的面板,可以查看服务状态,上传下载的流量统计信息。
sudo docker run -p 1234:80 -d --name yacd haishanh/yacd:master
sudo ufw allow 7890
访问 http://[服务器IP]:1234 进入页面,填写 Clash 地址,本例为 http://[服务器IP]:9090,secret 填写 config.yaml 中配置的 secret 值,添加后点击新增的链接进入页面。
clash 及 yacd 的部署使用到这里就记录完成了。
ShellClash
功能简介:
- 通过管理脚本在Shell环境下便捷使用Clash
- 支持在Shell环境下管理Clash各种功能
- 支持在线导入Clash支持的分享、订阅及配置链接
- 支持配置定时任务,支持配置文件定时更新
- 支持在线安装及使用本地网页面板管理内置规则
- 支持路由模式、本机模式等多种模式切换
- 支持在线更新
在线安装:
(如无法连接或出现SSL连接错误,请尝试更换各种不同的安装源!)
~标准Linux设备安装:
sudo -i #切换到root用户,如果需要密码,请输入密码
bash #如已处于bash环境可跳过
export url='https://fastly.jsdelivr.net/gh/juewuy/ShellClash@master' && wget -q --no-check-certificate -O /tmp/install.sh $url/install.sh  && bash /tmp/install.sh && source /etc/profile &> /dev/null
或者
sudo -i #切换到root用户,如果需要密码,请输入密码
bash #如已处于bash环境可跳过
export url='https://gh.jwsc.eu.org/master' && bash -c "$(curl -kfsSl $url/install.sh)" && source /etc/profile &> /dev/null~路由设备使用curl安装:
#GitHub源(可能需要代理)
export url='https://raw.githubusercontent.com/juewuy/ShellClash/master' && sh -c "$(curl -kfsSl $url/install.sh)" && source /etc/profile &> /dev/null
或者
#jsDelivrCDN源
export url='https://fastly.jsdelivr.net/gh/juewuy/ShellClash@master' && sh -c "$(curl -kfsSl $url/install.sh)" && source /etc/profile &> /dev/null
或者
#作者私人源
export url='https://gh.jwsc.eu.org/master' && sh -c "$(curl -kfsSl $url/install.sh)" && source /etc/profile &> /dev/null~路由设备使用wget安装:
#GitHub源(可能需要代理)
export url='https://raw.githubusercontent.com/juewuy/ShellClash/master' && wget -q --no-check-certificate -O /tmp/install.sh $url/install.sh  && sh /tmp/install.sh && source /etc/profile &> /dev/null
或者
#jsDelivrCDN源
export url='https://fastly.jsdelivr.net/gh/juewuy/ShellClash@master' && wget -q --no-check-certificate -O /tmp/install.sh $url/install.sh && sh /tmp/install.sh && source /etc/profile &> /dev/null~老旧设备使用低版本wge安装:
#作者私人http内测源
export url='http://t.jwsc.eu.org' && wget -q -O /tmp/install.sh $url/install.sh && sh /tmp/install.sh && source /etc/profile &> /dev/null~DOCKER环境下安装:
本地安装:
如使用在线安装出现问题,请参考:本地安装ShellClash的教程 | Juewuy’s Blog 使用本地安装!
使用脚本:
安装完成管理脚本后,执行如下命令使用~
clash 		#进入对话脚本
clash -h 	#脚本帮助及说明
clash -u 	#卸载脚本
clash -t 	#测试模式运行
clash -s start 	#启动服务
clash -s stop #停止服务运行时的额外依赖:
大部分的设备/系统都已经预装了以下的大部分依赖,使用时如无影响可以无视之
curl/wget		必须		全部缺少时无法在线安装及更新,无法使用节点保存功能
iptables/nftables	重要		缺少时只能使用纯净模式
crontab			较低		缺少时无法启用定时任务功能
net-tools		极低		缺少时无法正常检测端口占用
ubus/iproute-doc	极低		缺少时无法正常获取本机host地址
GUI 版本
安装 clash for windows(其实应该叫 Clash GUI 的)
https://github.com/Fndroid/clash_for_windows_pkg/releases/
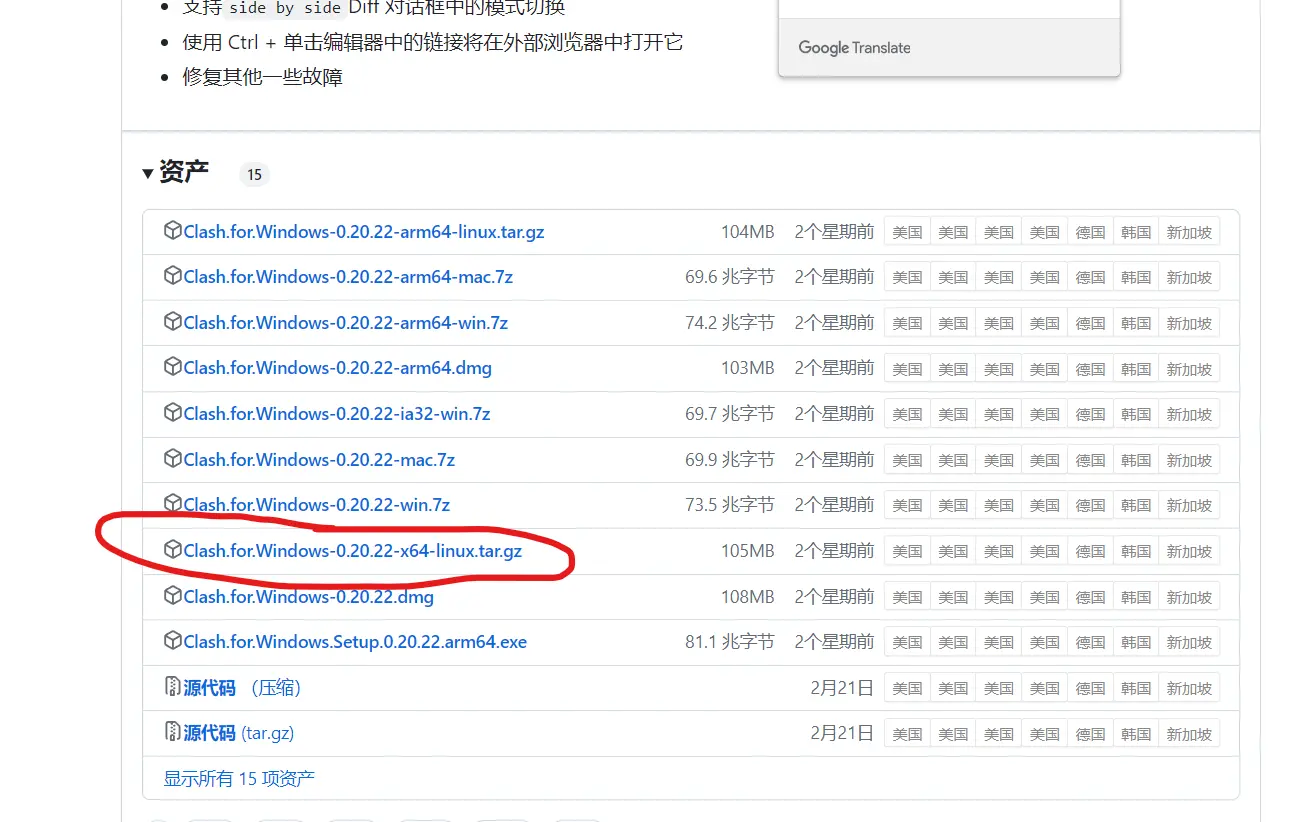
下载 Linux 版本的压缩包
wget https://github.com/Fndroid/clash_for_windows_pkg/releases/download/0.20.22/Clash.for.Windows-0.20.22-x64-linux.tar.gz解压压缩包
//文件名自己换
tar -xvf Clash.for.Windows-0.20.22-x64-linux.tar.gz
重命名与移动
mv Clash\ for\ Windows-0.20.22-x64-linux clash
sudo mv clash /opt
cd /opt/clash